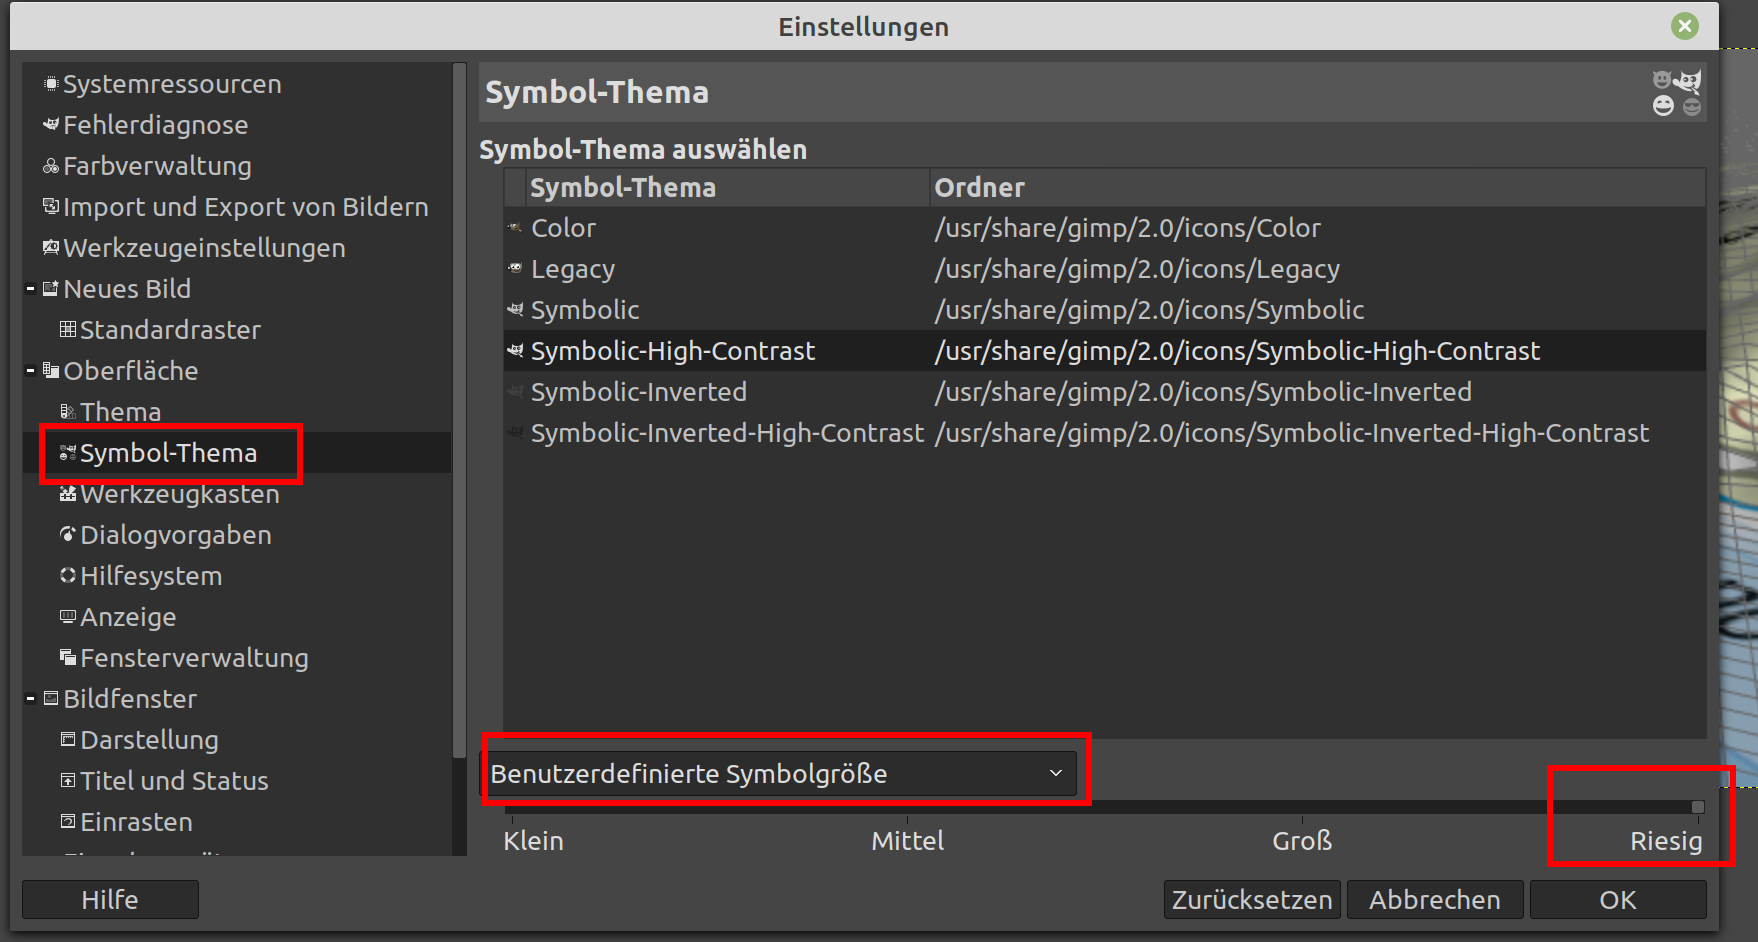
Bearbeiten
→ Einstellungen
→ Oberfläche
→ Symbolthema
Bearbeiten
→ Einstellungen
→ Oberfläche
→ Symbolthema
https://praxistipps.chip.de/gimp-animiertes-gif-erstellen_11867

Step 1
Launch GIMP and open the document in which you want to draw a dotted line.
Step 2
Choose a color for the line from the „Change Foreground Color“ menu.
Step 3
Click the „Paths Tool“ tool, and draw a straight line in the document where you want the dotted line to appear.
Step 4
Right-click on the line, choose „Edit“ and click „Stroke Path.“
Step 5
Click „Solid Color“ from the window that appears, and click the triangle next to „Line Style“ to make more options appear.
Step 6
Click the „Dash Preset“ drop-down menu, and choose the line style you prefer.
Step 7
Click „Stroke“ to close the Stroke Path window, and the solid line you drew will turn into a dotted line.
Anmerkung: um eine Auswahl (Selection) in einen Pfad umzuwandeln, muss man mit dem Selection-Tool und Rechtsklick das Kontextmenü aufrufen und „Selection/To Path“ wählen
– 8-Bit Graustufenbild laden (Maske)
– Kopieren (Strg-C)
– 24-Bit RGB-Bild laden
– Ebene -> Maske -> Ebenenmaske hinzufügen
– Graustufenbild einfügen (Strg-V)
– Bild -> Sichtbare Ebenen vereinen
Die hellen (weißen) Bereiche der Maske sind sichtbar, die
schwarzen Bereiche transparent
Mit folgendem Script kann man unter Gimp die Position einer
Ebene (Layer) angeben:
http://registry.gimp.org/node/27806
Das Script im Benutzerorder unter .gimp-2.8/scripts
ablegen und Gimp neu starten (Versteckte Dateien anzeigen).
Damit geht’s (Gimp 2.8.10):
Menu -> Image -> Mode -> Convert to Color Profile -> RGB Workspace (sRGB build-in) -> convert